When we were considering installing a fridge – freezer for overland travel in our Ford F-150, we looked at rack systems for the bed, as well as installing it in the back seat. Since our dogs refused to give up any of their space, we decided to remove the F-150’s center console and install a platform, where we could mount a Dometic CFX-28 fridge/freezer. Here’s how we did our budget overland fridge install, and how we power it.

Step 1 – Removing The Ford F-150 Center Console
The first step was to remove the truck’s center console, which takes up quite a lot of real estate in the vehicle’s interior, in trade for a paltry amount of storage space. In fact, almost half of the center console’s size is not usable storage. The only thing we missed was the cup holders, so we bought a “bean bag” two-cup holder, that we place on the floor in front of the fridge. The fridge also makes a nice arm rest, as well as mini desk for placing a laptop.
There are several good YouTube tutorials online and we suggest you follow one of those for instructions on how to remove your Ford F-150 console.
In our case, we had to remove the center speaker cover by pulling upwards on it – hard- then removing the screws that hold the face plate for the radio, etc. One you have this off, you can get to the two bolts that hold the front of the console snug at the forward edge. Next, you’ll have to remove the bolts that hold the console to your truck’s floorboard. As you lift it out, you’ll have to remove the wiring harness for the 12 volt plug and USB port.
After we removed our Ford F-150’s center console, a gaping hole was left in the dash, showing exposed wiring, vents, etc. To cover this we cut a piece of 1/4″ plywood, covered it in black vinyl material – and placed it over the hole.

Step 2 – Building a Platform For The Fridge
Next we cut a 3/4″ piece of cabinet grade plywood to make a platform – just slightly larger than the Dometic fridge. We cut two lengths of 2×4 board that we bolted to the truck’s frame, using the same bolts that held the console in place. We then screwed down the plywood to those 2×4’s, and covered the platform in marine carpeting. (Black would have looked better, but because of a supply shortage, we couldn’t find any at the time of the install). We use a couple of heavy bungee cords to secure the fridge to the platform when traveling off-road – but are looking for a better way to secure it more “professionally”. A locking cable secures the fridge to the seat frame, to slow down would-be thieves.

How We Power Our Overland Fridge Setup
We looked at power packs, like the Goal Zero Yeti 500X, and aside from the hefty price of almost $700, we realized that these only have a 46.8 amp hour battery. For under $80, we bought a WalMart deep cycle battery, with 122 amp hours. We placed this in a $10 battery box, attached it to the bed with eye-bolts and heavy rubber bungee cords, and ran a 12 gauge pair of wires to a cigarette lighter plug in the back seat.
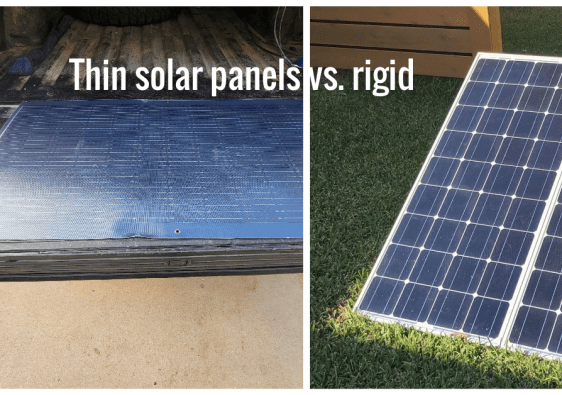
A solar charge controller regulates power from a 100 watt panel that we set up when camping, and a Peak “vehicle to vehicle” battery charger, charges the battery when we put one end of it in our vehicle’s 12 volt cigarette lighter outlet and the other in the outlet that’s powered by the deep cycle. The Peak cigarette lighter plug charger – which has since been discontinued – has a built in charge regulator – cost us only $20 – and we avoided the hassle of an expensive battery isolator and wiring harness to our truck’s battery. Details of our budget 12 volt setup can be seen here.
With this setup we can power the fridge while camping and not run our truck’s battery down, and easily charge up the fridge battery while driving or with solar.
How It’s Working So Far
Our longest time running our Dometic fridge strictly off solar power was 5 days, in Grand Staircase Escalante this past summer. When we recently traveled 60 miles down the four wheel drive section of Padre Island National Seashore – where we caught a few nice fish – we were able to keep them frozen until we got home, which is something we never could’ve done with our Yeti cooler. So far we love our overland fridge setup, and by having it located where the center console once was, the co-pilot can open it up and make sandwiches for everyone while we’re traveling!
The Dometic CFX-28 is no longer for sale, having been replaced with the Dometic CFX 3 – 25*, which has the nice feature of being able to control and monitor it with a mobile app via Bluetooth.
Also, the dogs are very happy with the extra room in the back seat!
*This article includes affiliate links to products we have used or recommend.


